
LumberPanel | Plywood & Panel Products

-
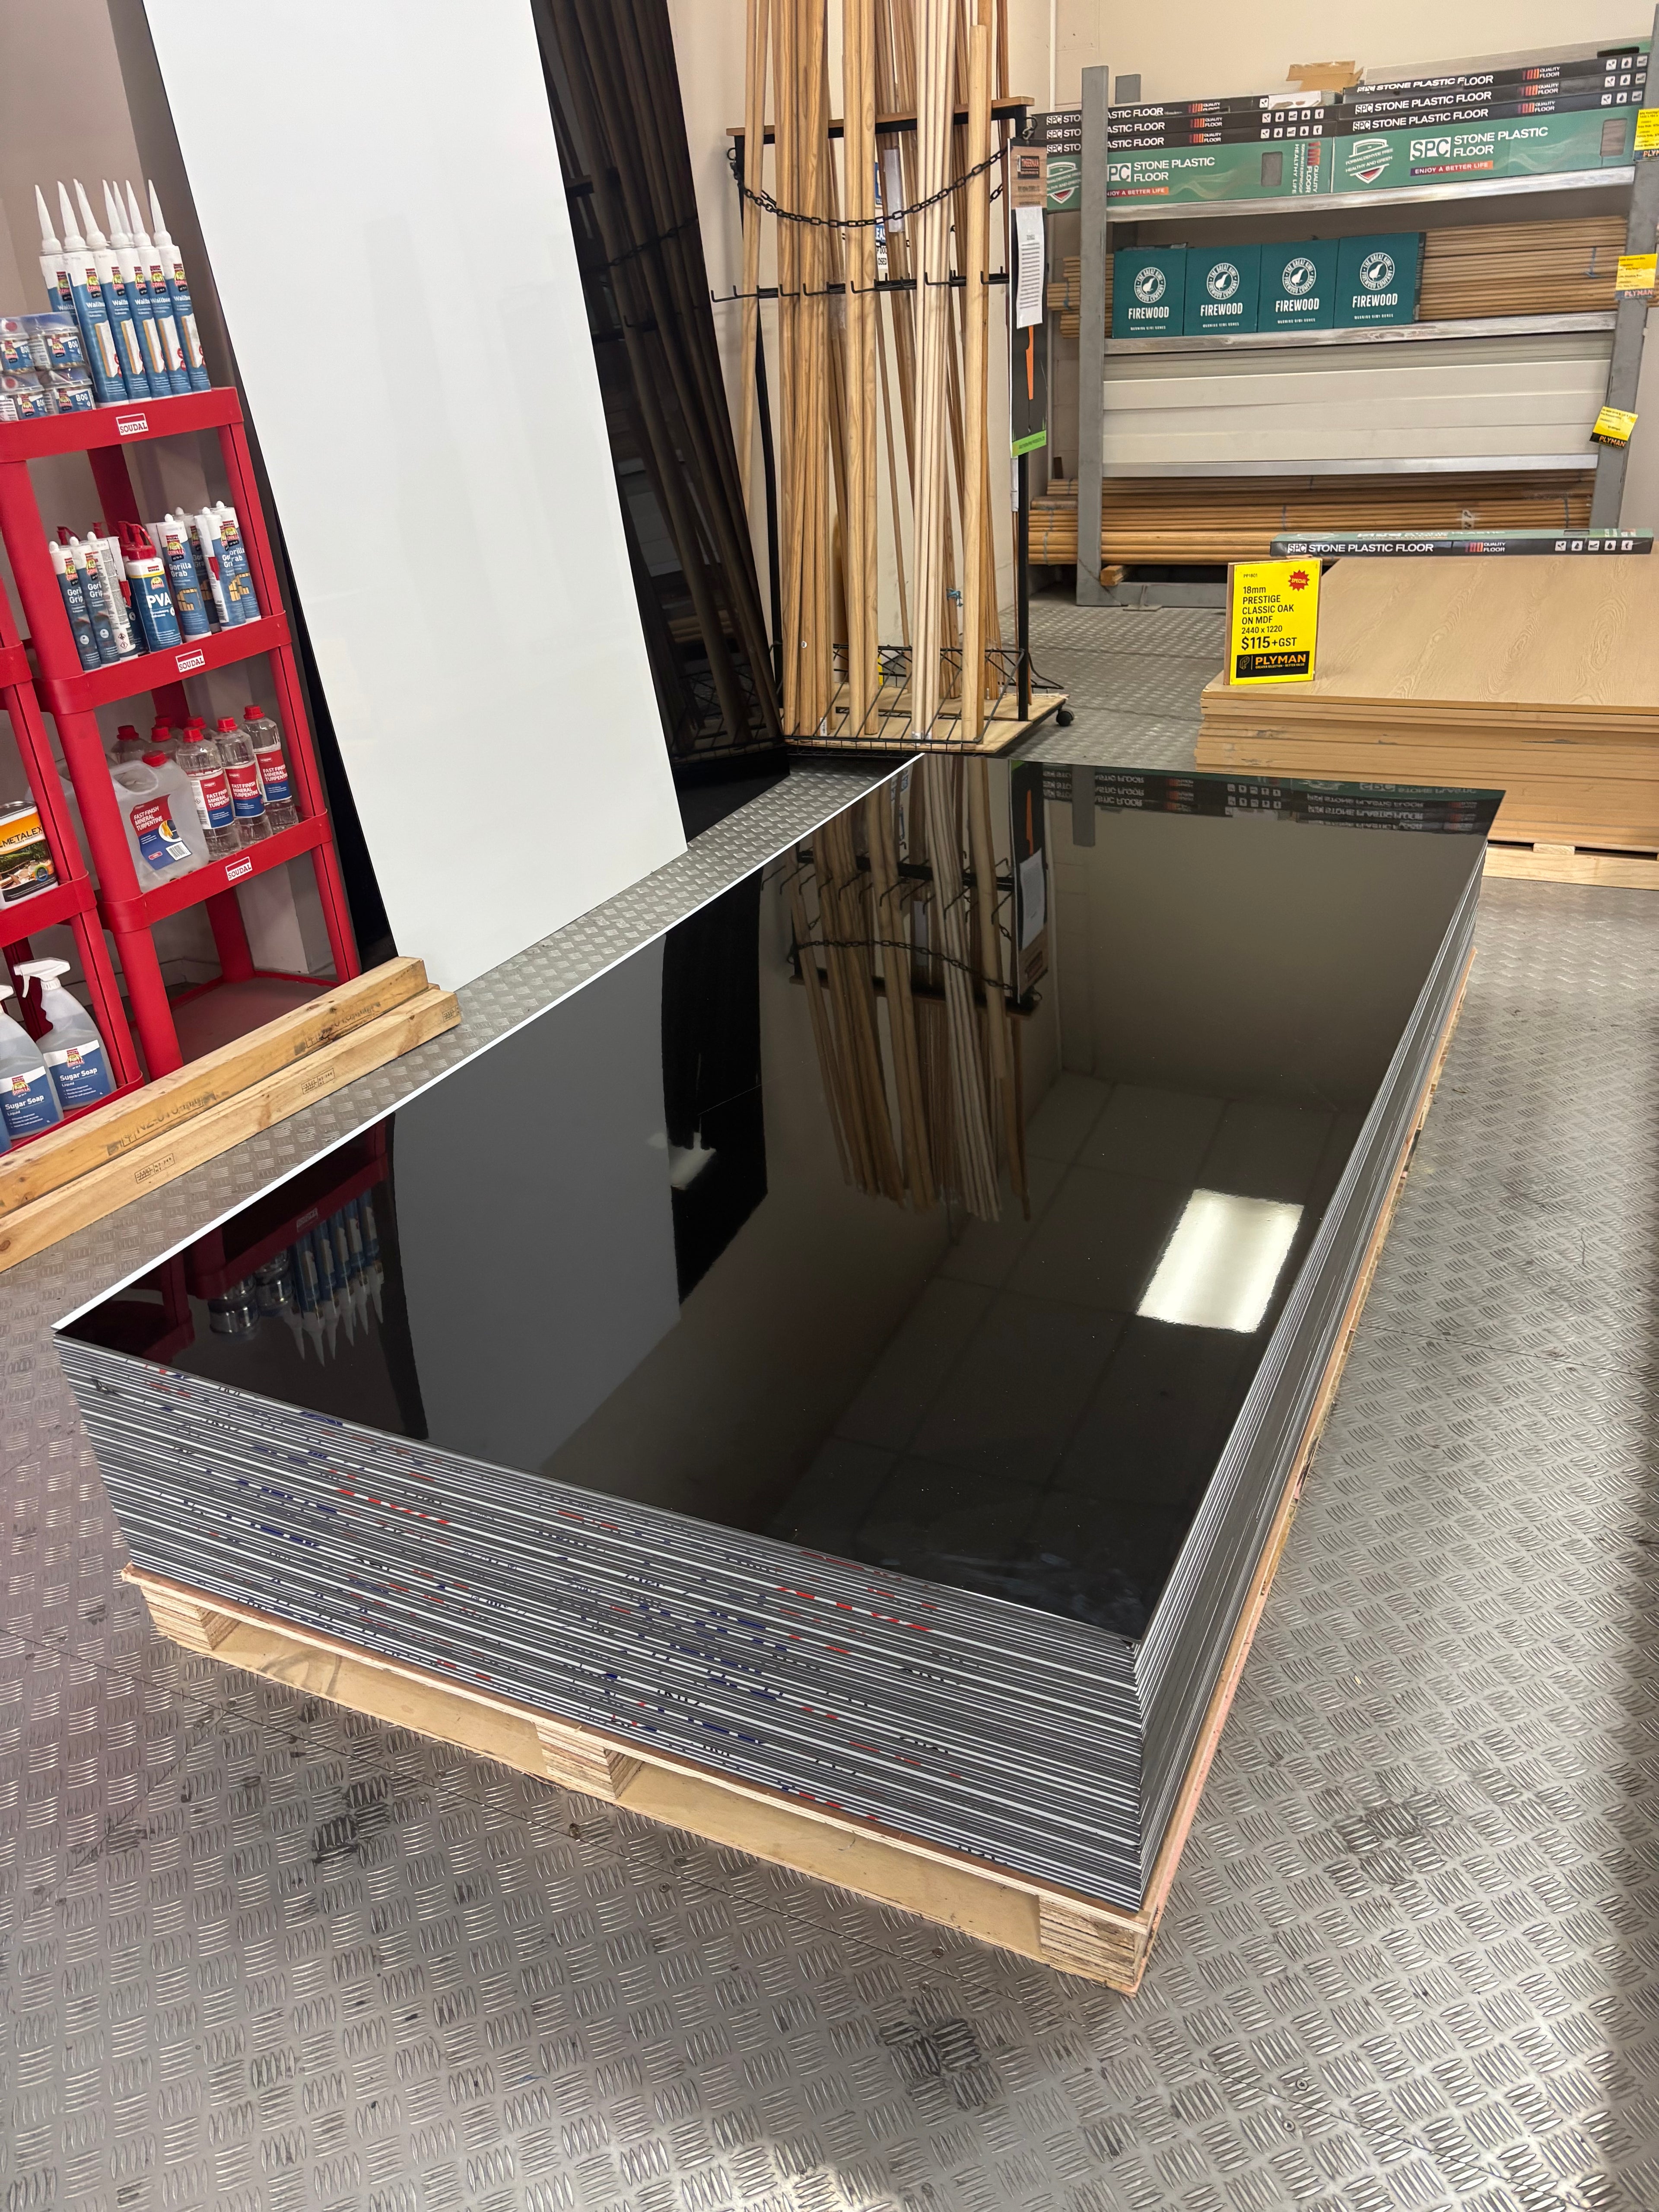
ACM Wetwall Black White Gloss - 4.5mm Aluminium Composite SaleACM Wetwall Black White Gloss - 4.5mm Aluminium Composite
Regular price $117.00 NZD Sale price $102.35 NZDSale price $102.35 NZD Regular price $117.00 NZD Unit price $41.95 NZD/m² -
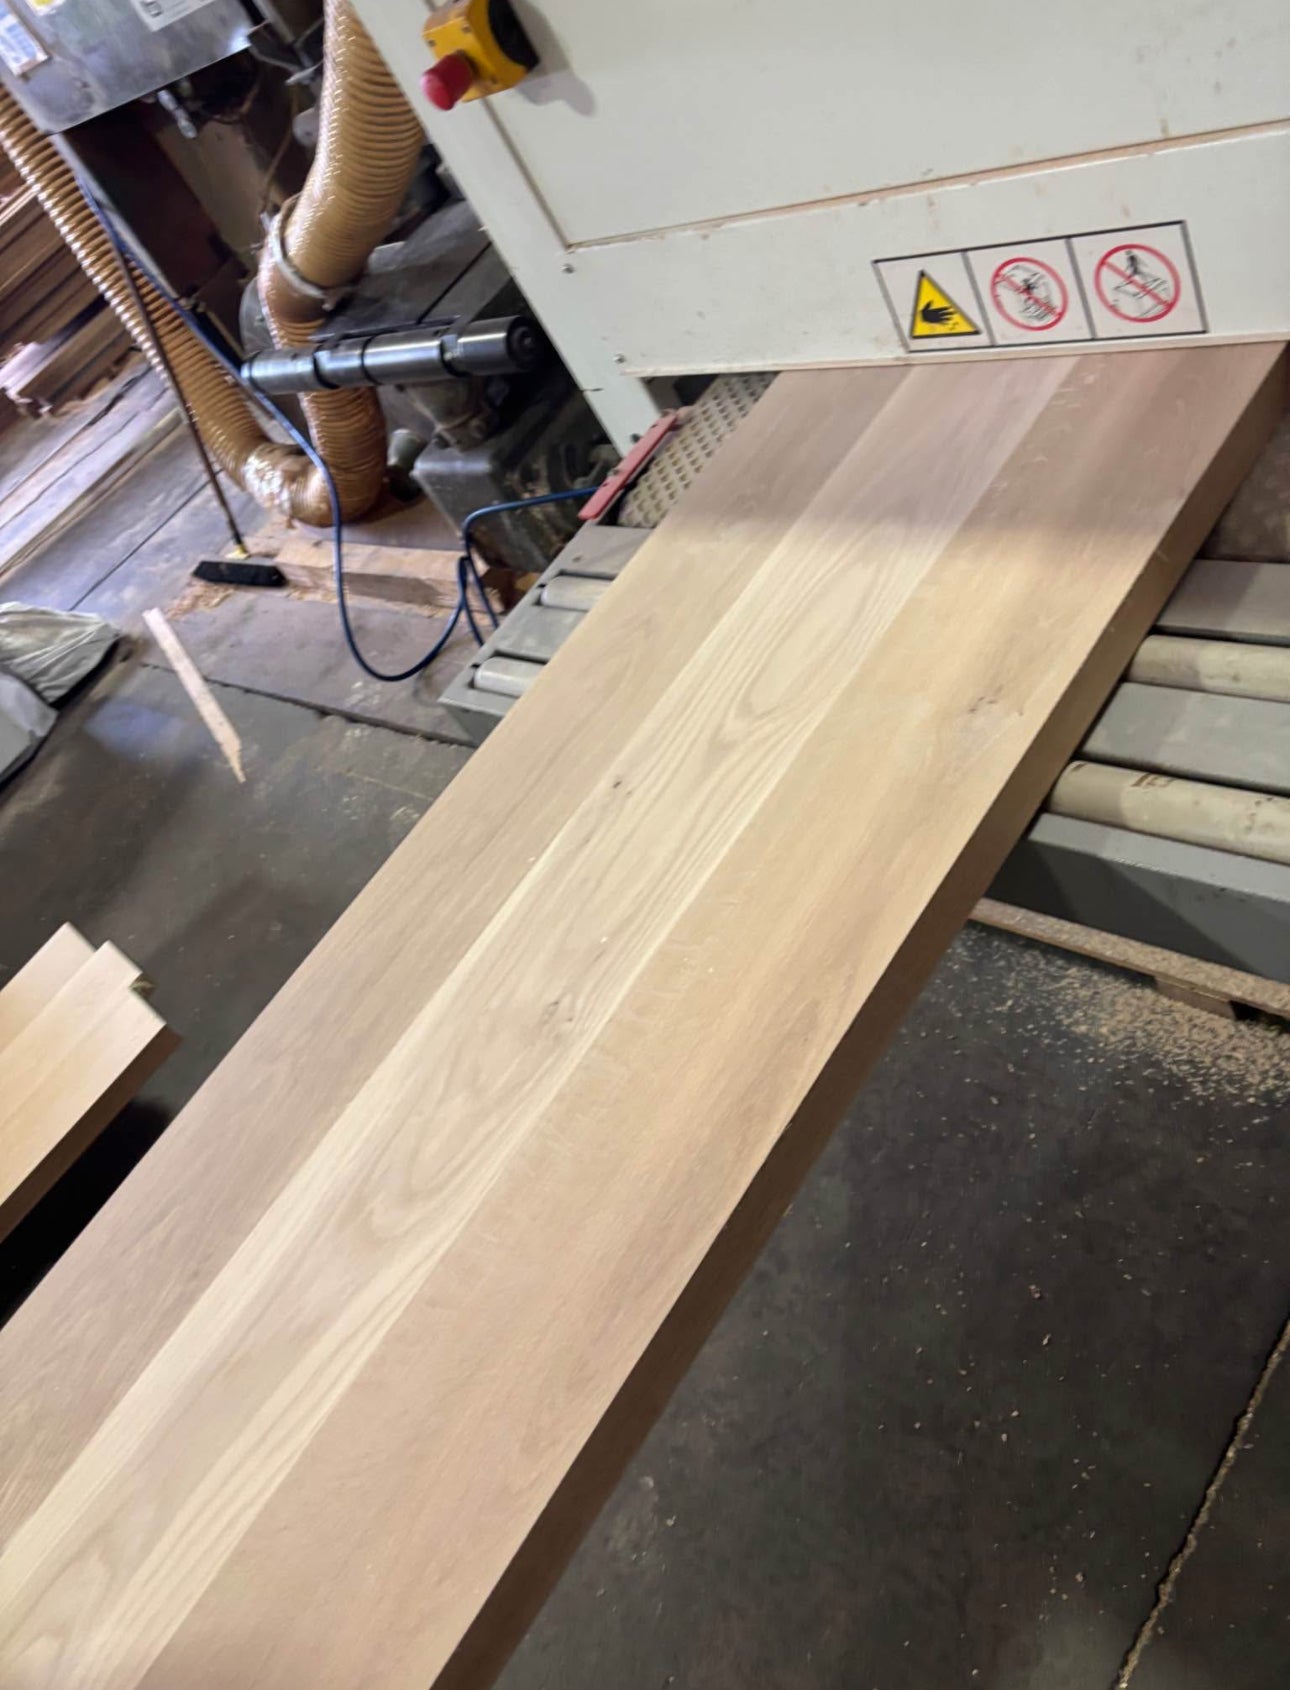
Premium Finland Birch Sheet – 1.5mm Premium Finland Birch Sheet – 1.5mm
$27.00 NZD$27.00 NZD -
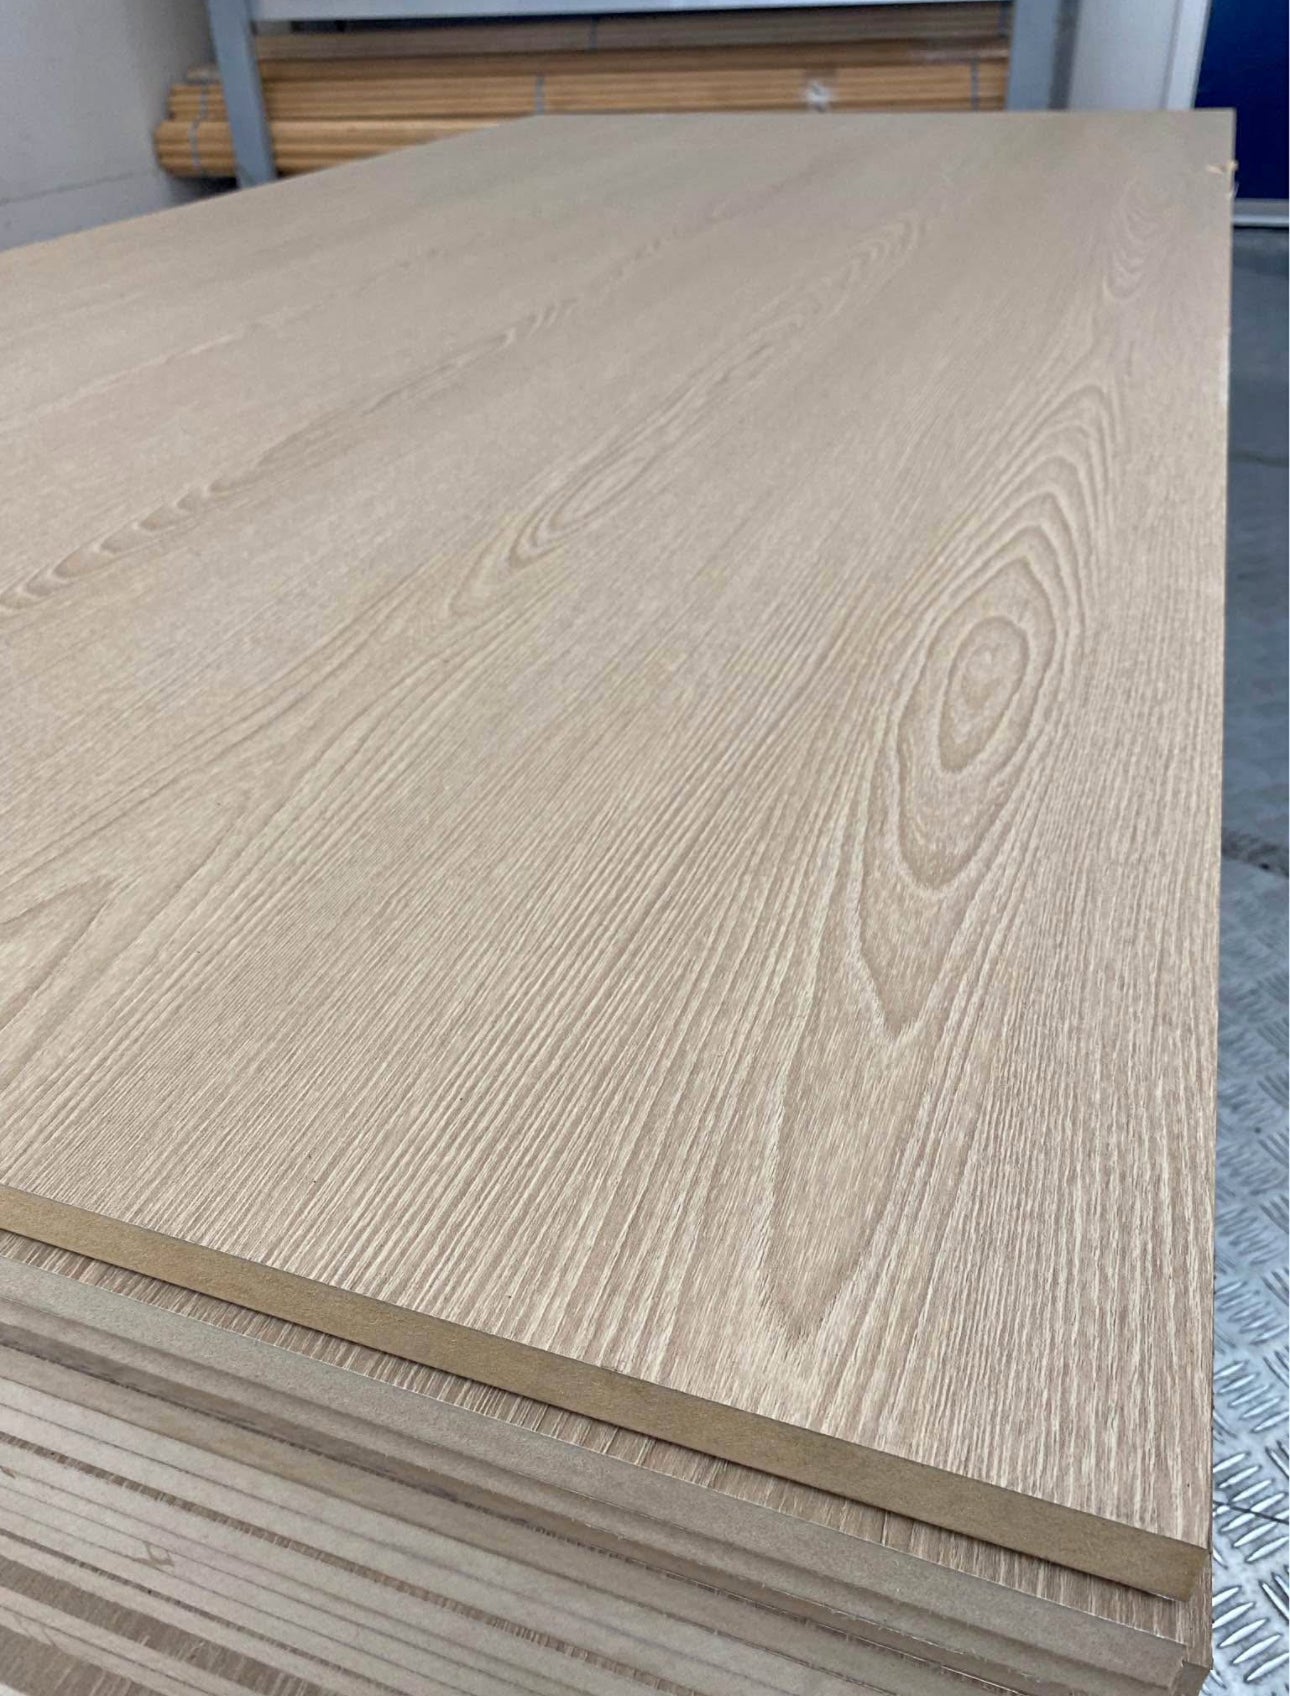
Prestige Oak PVC F2S 18mm MDF Panel Prestige Oak PVC F2S 18mm MDF Panel
$103.50 NZD$103.50 NZD Unit price $42.42 NZD/m² -
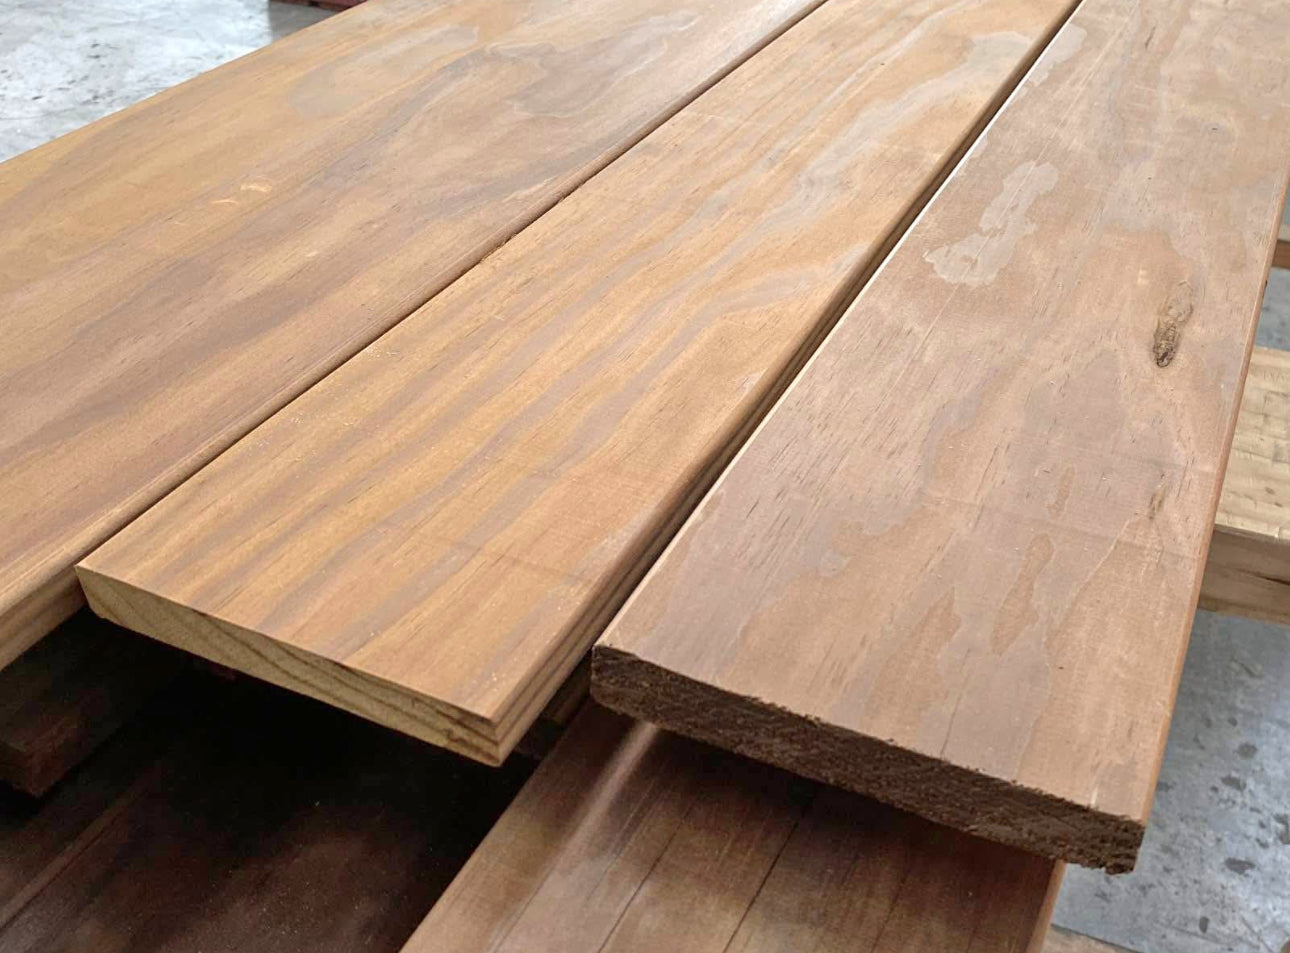
American White Oak 3050x1220mm Crown cut Mismatched 1F1B American White Oak 3050x1220mm Crown cut Mismatched 1F1B
$438.00 NZD$438.00 NZD Unit price $117.74 NZD/m²


Shop by collection
LumberDeck | Decking Timber

LumberDeck | Decking Timber
LumberPanel | Plywood & Panel Products

LumberPanel | Plywood & Panel Products
LumberTrade | Pre-ordered products

LumberTrade | Pre-ordered products
LumberLine | Timber Interior Linings

LumberLine | Timber Interior Linings
Timber Products


Timber Products
LumberFlooring | Tongue & Groove Flooring

LumberFlooring | Tongue & Groove Flooring